




How to Insert a Certificate into a Diploma Cover
Your diploma or certificate is one of those documents you only get once - and it deserves better than sitting unprotected in a drawer. A diploma cover helps keep the paper clean, prevents corner bends, and makes the certificate look presentation-ready for photos and display.
The steps below show the most common cover style: corner ribbons (triangles) plus a clear acetate protector sheet. If your cover uses corner slits or a full-pocket sleeve, the handling is similar - you just “seat” the paper first, then smooth and secure it.
What you’ll need
- Diploma cover (correct size for your document)
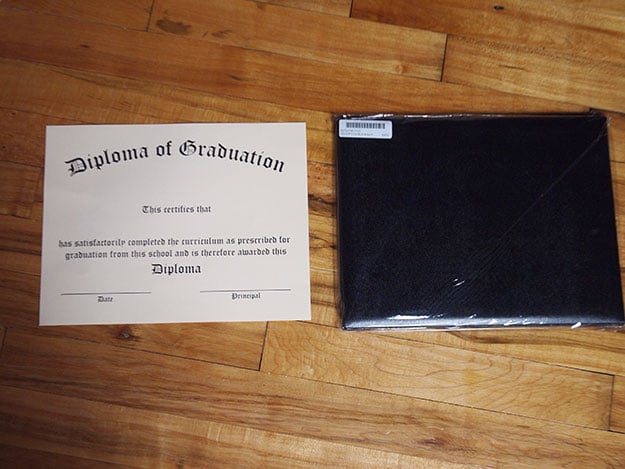
- Your diploma or certificate
- Clean, dry hands (or cotton gloves if you’re being extra careful)
Step-by-step instructions
Confirm size and orientation
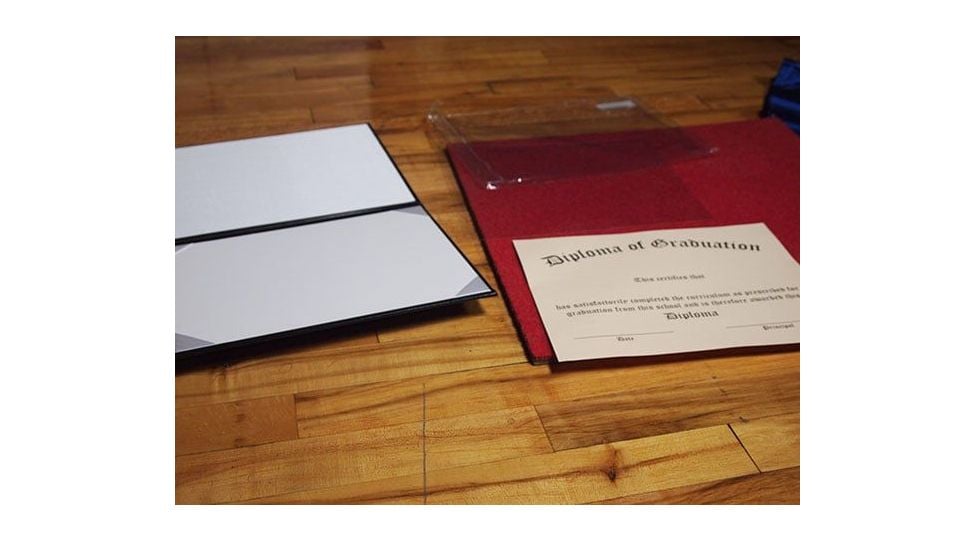
Take the diploma cover out of the package and open it flat on a clean surface. Confirm it’s the correct color and size, and identify which side is the “front” so your certificate will face the right direction once inserted.
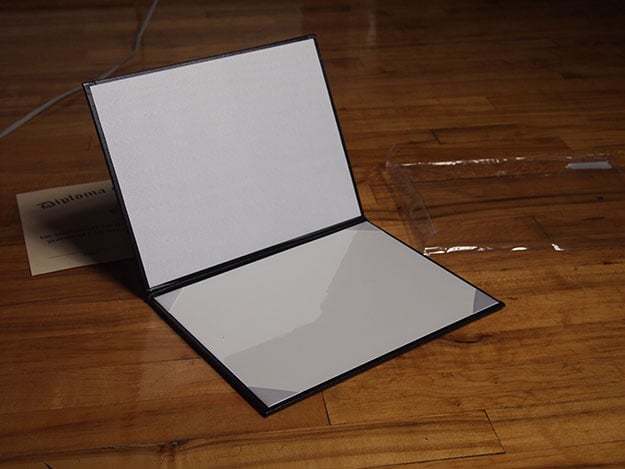
Remove the acetate protector (if included)
If your cover includes a clear acetate sheet, gently lift it out and set it aside. This makes inserting the paper easier and helps you avoid smudges or trapped dust.
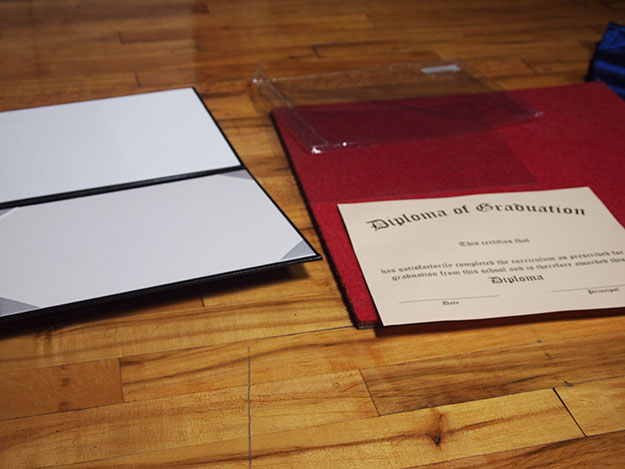
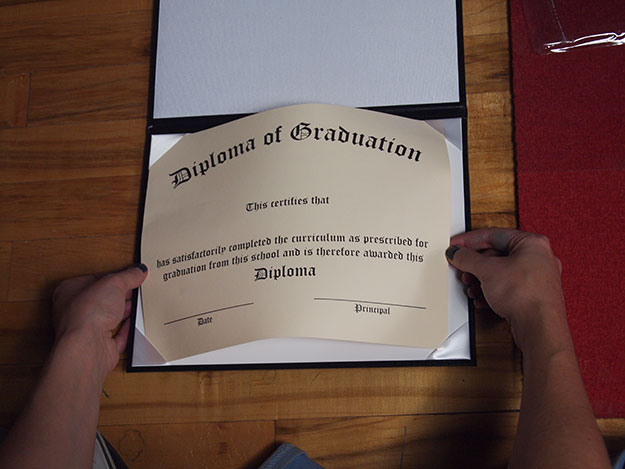
Insert the certificate into the corner ribbons
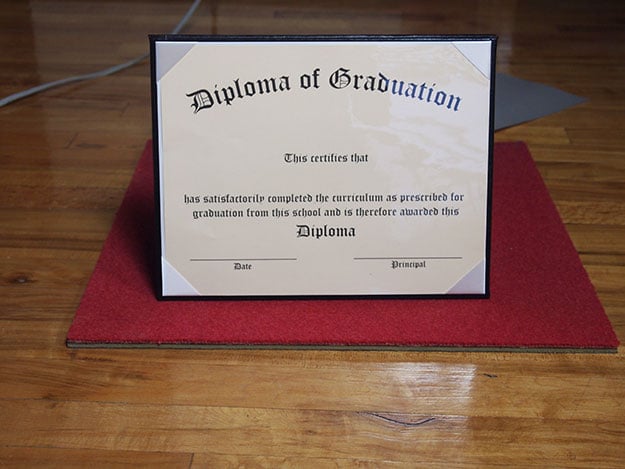
Hold the certificate by the edges. Slide one corner (usually top-left) under the triangular ribbon first, then seat the opposite top corner. Finish with the bottom corners.
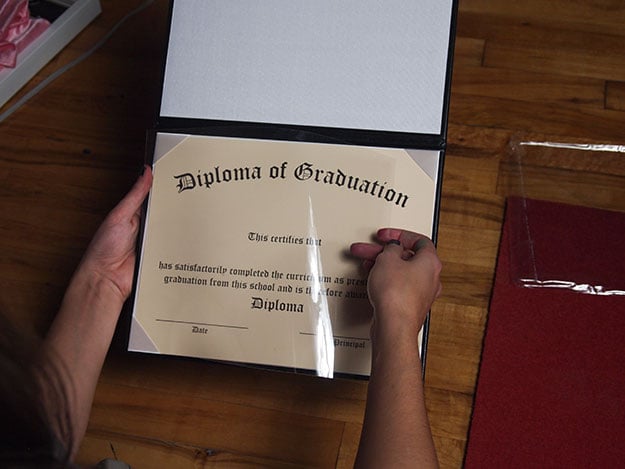
Reinstall the acetate protector
Slide the acetate sheet back into place over the certificate. Make sure the edges align and the sheet lays flat, so it doesn’t create ripples or pressure marks on the paper.
Close it and display it
Close the cover and check that the certificate looks centered and level. You can display it flat on a shelf, propped on a desk, or stored in a drawer until you’re ready to frame it.
Common mistakes to avoid
- Touching the paper surface: fingerprints can show over time, especially on glossy certificates.
- Forcing corners: if it doesn’t slide easily, re-angle instead of pushing harder.
- Trapping dust under acetate: wipe the acetate gently first if needed, then reinsert.
- Storing in heat/humidity: keep away from radiators, sunny windows, and damp basements.