


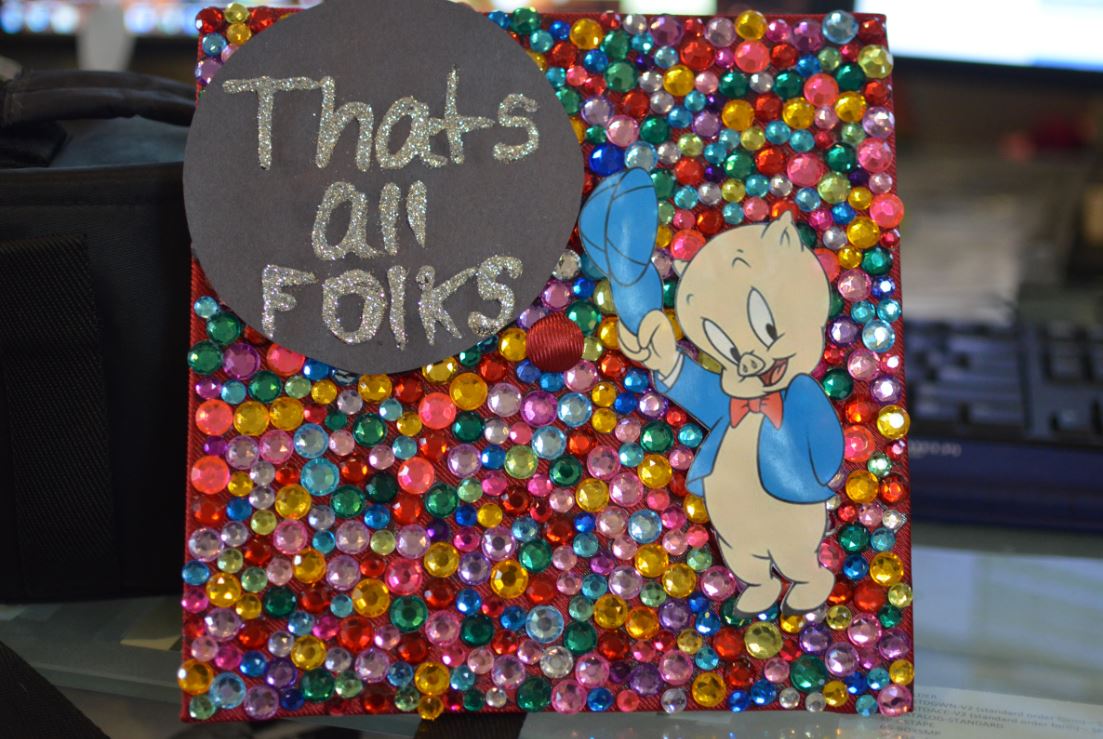
Want a graduation cap that actually stands out in photos - without turning into a messy craft disaster? This bedazzled cap tutorial walks you through a clean, durable way to add rhinestones, a bold sign, and a custom cutout. It’s beginner-friendly, looks incredible under ceremony lighting, and holds up through the full day.
What you’ll need
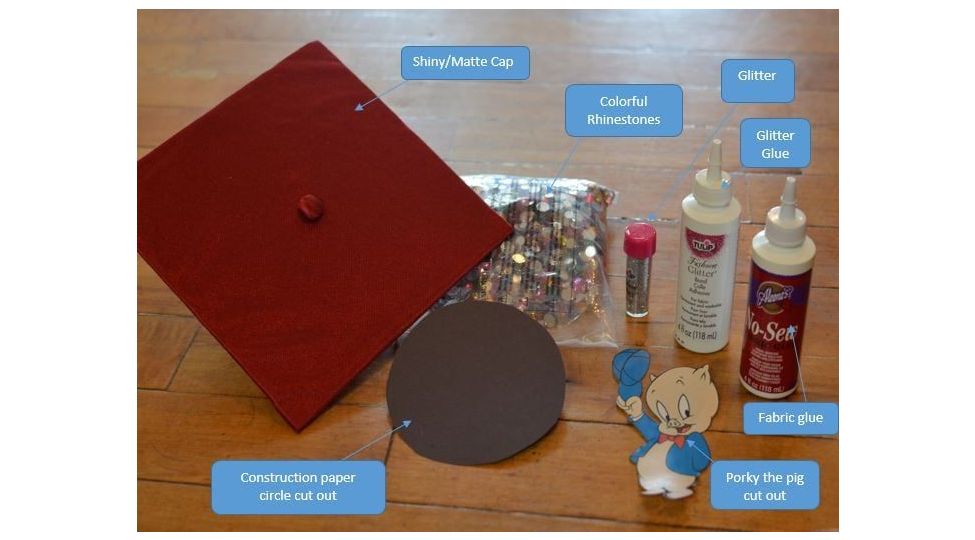
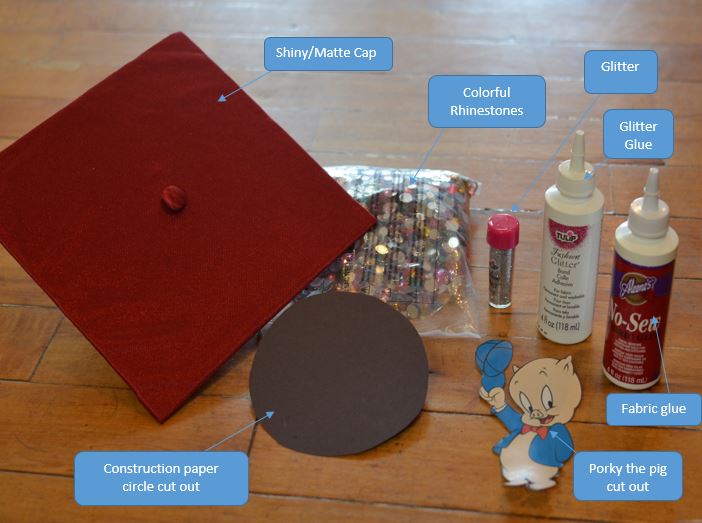
This design uses common craft supplies and a simple build order that prevents glue smears and loose stones.
- Graduation cap (matte or shiny)
- Fabric glue (clear-drying)
- Rhinestones (mixed sizes looks best)
- Glitter glue pen (for lettering)
- Loose glitter (optional for extra sparkle)
- Black cardstock or construction paper (for the sign)
- Printed cutout (your own design or school-friendly mascot)
- Tweezers (places rhinestones fast and clean)
- Wax pencil or dotting tool (great for tiny stones)
- Ruler or measuring tape (center your sign)
- Painter’s tape (quick alignment guides)
- Scrap paper or a tray (catches glitter)
Step-by-step: how to bedazzle your graduation cap
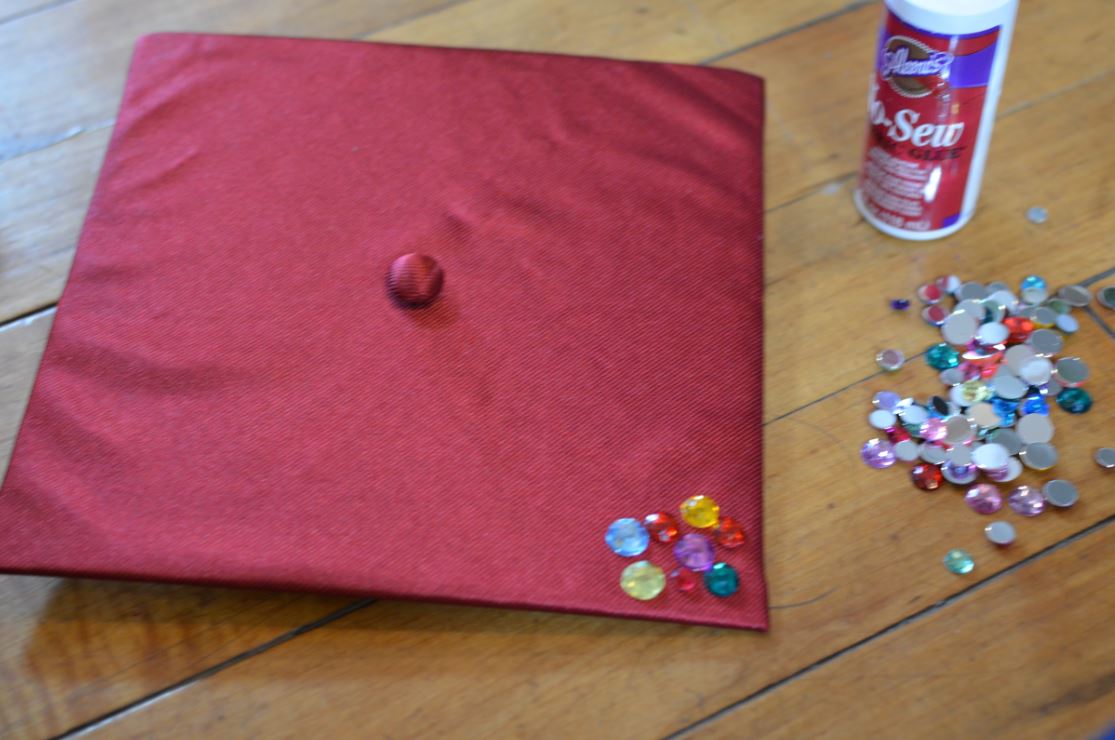
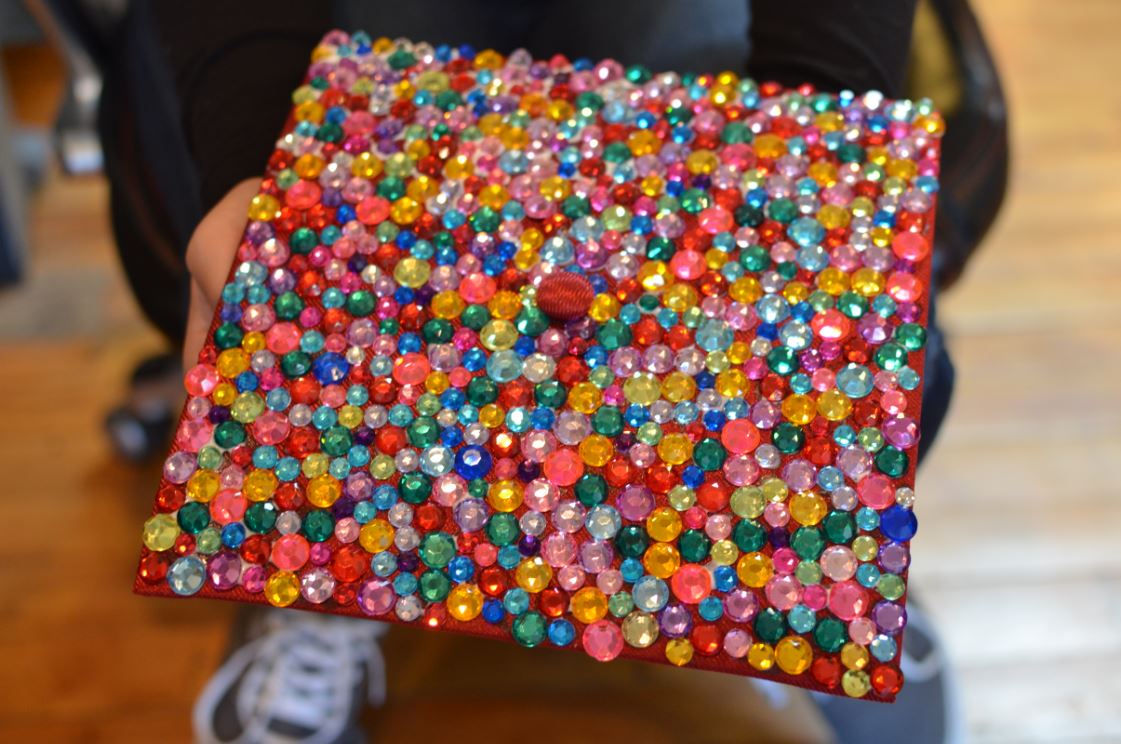
Rhinestone base layer
Dab a small amount of fabric glue onto the back of a rhinestone and press it onto the cap. Work in sections so the glue doesn’t skin over before stones are placed.
Best look: mix stone sizes (small + medium) and stagger them so you don’t end up with noticeable “rows.”
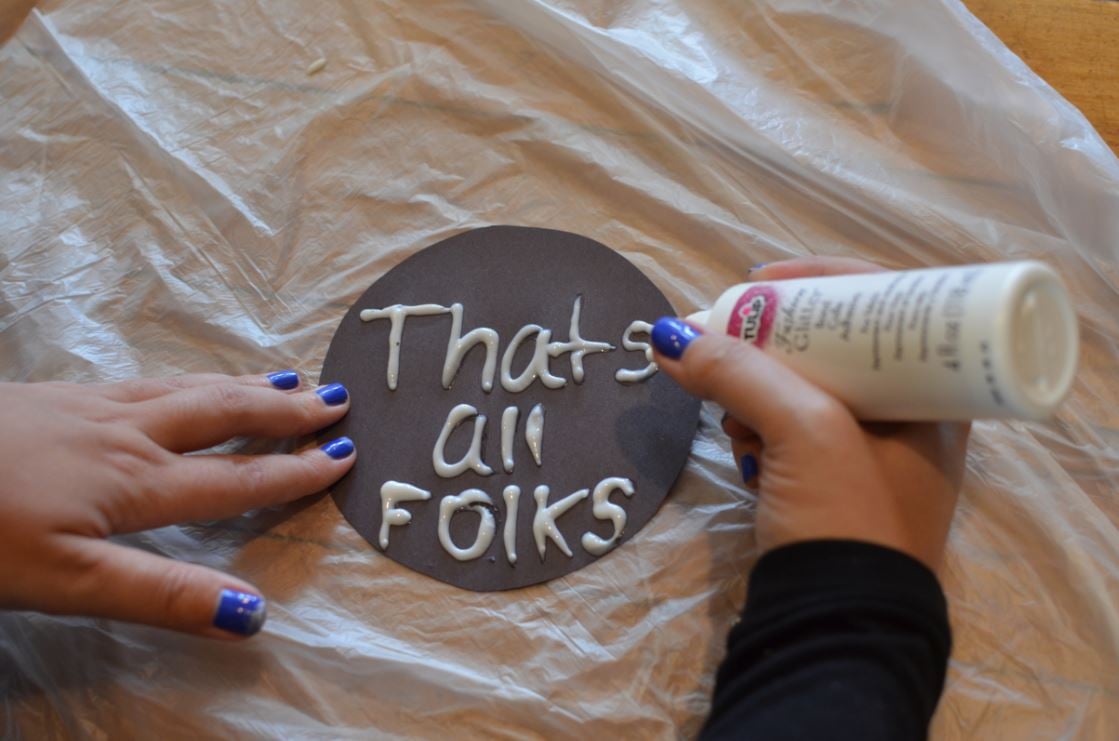
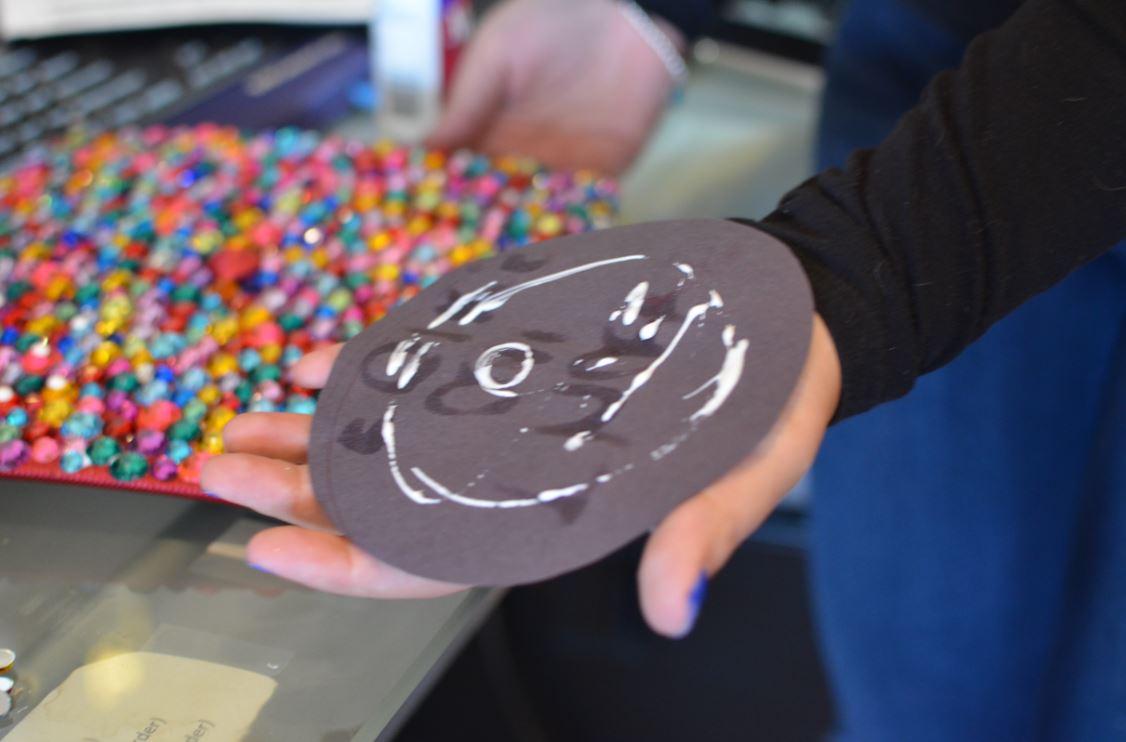
Create your sign
Cut your sign shape (circle, banner, or rectangle all work). Use a glitter glue pen to write your message. Keep it short so it reads clearly in photos.
Message ideas: “Class of 2026”, “Finally!”, “I did it”, “Next chapter”, “Dream big”.
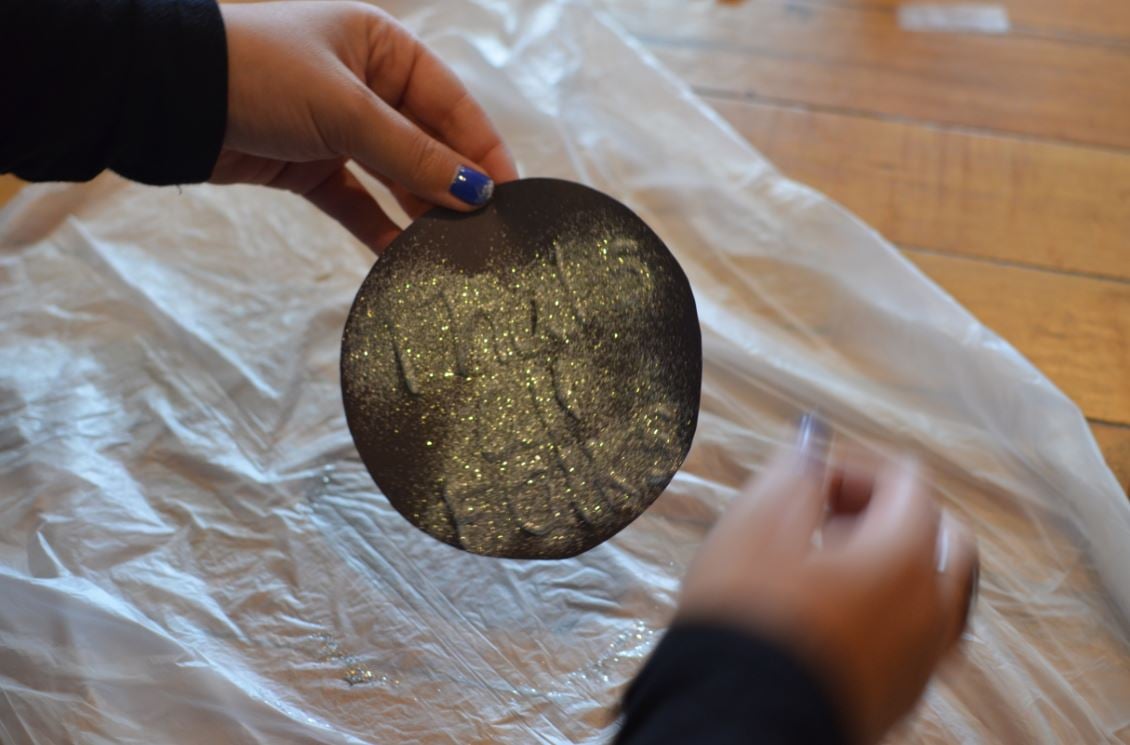
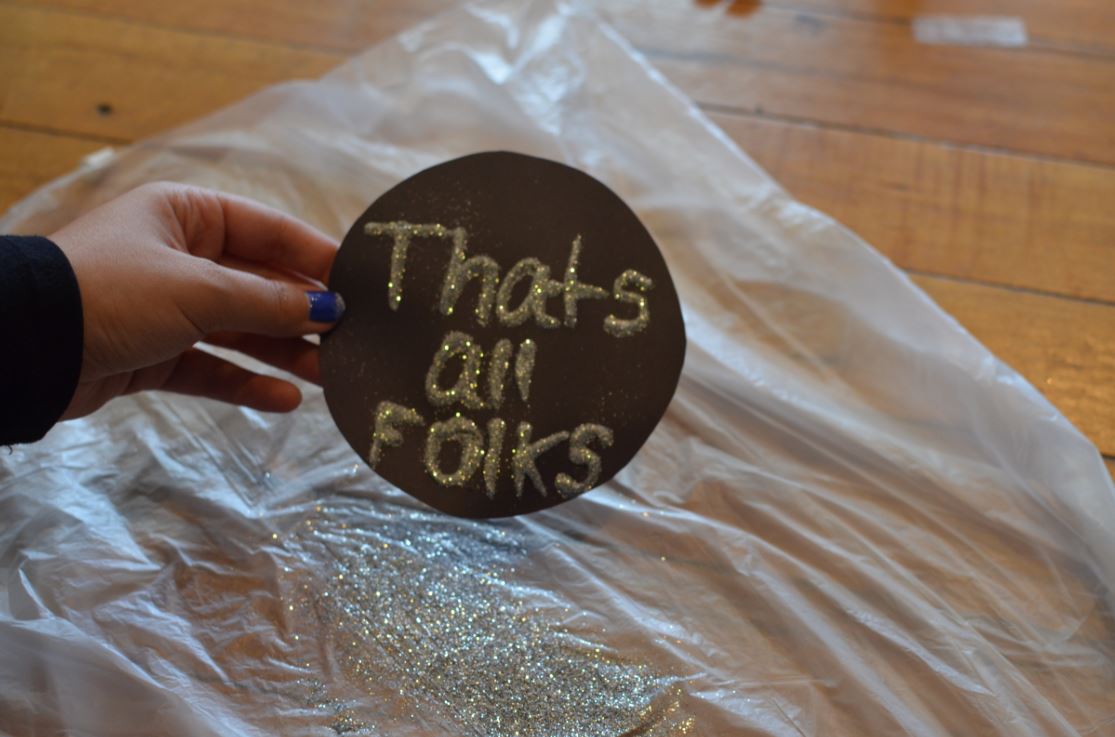
Add glitter without making a mess
Place scrap paper or a tray under your sign. While the glitter glue is still wet, pour glitter over the letters. Tap the paper gently to knock off excess.
Let the sign dry fully before attaching it to the cap so you don’t shed glitter on the rhinestones.

Attach the sign to the cap
Add glue in a swirl or “S” pattern on the back of the sign. Press it gently onto the rhinestones. Hold it in place for 15 to 30 seconds so it bonds.
Alignment hack: mark the cap center lightly with a small piece of painter’s tape, then remove it after placement.

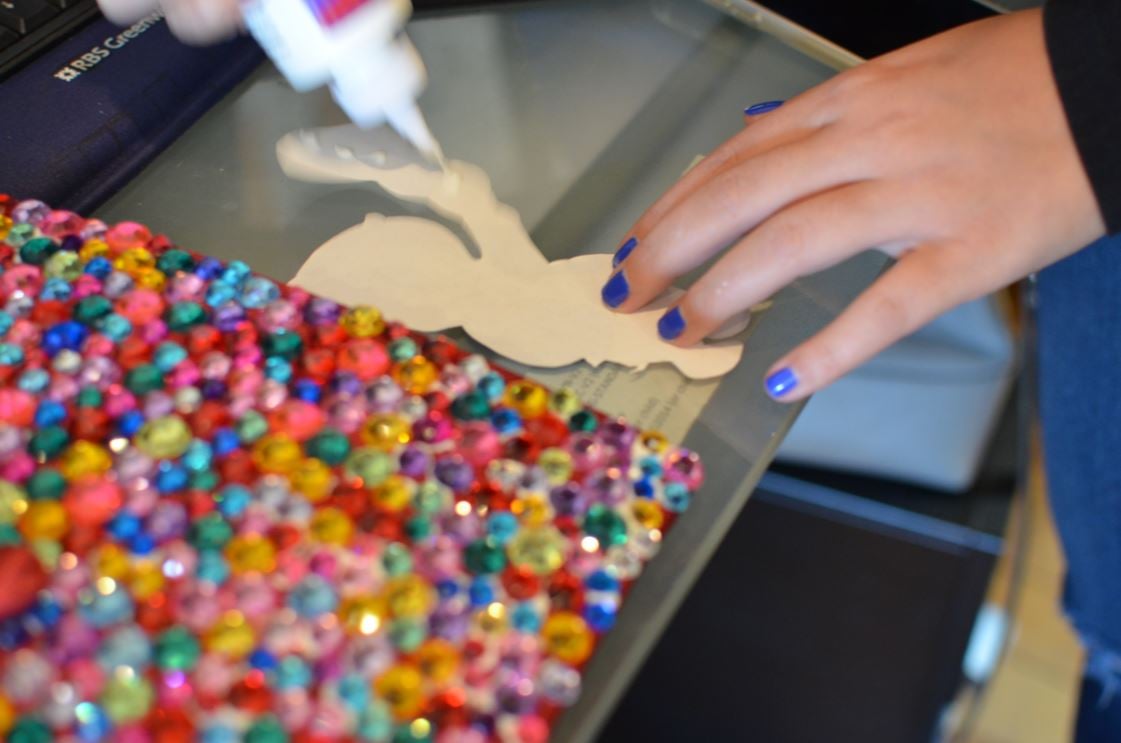
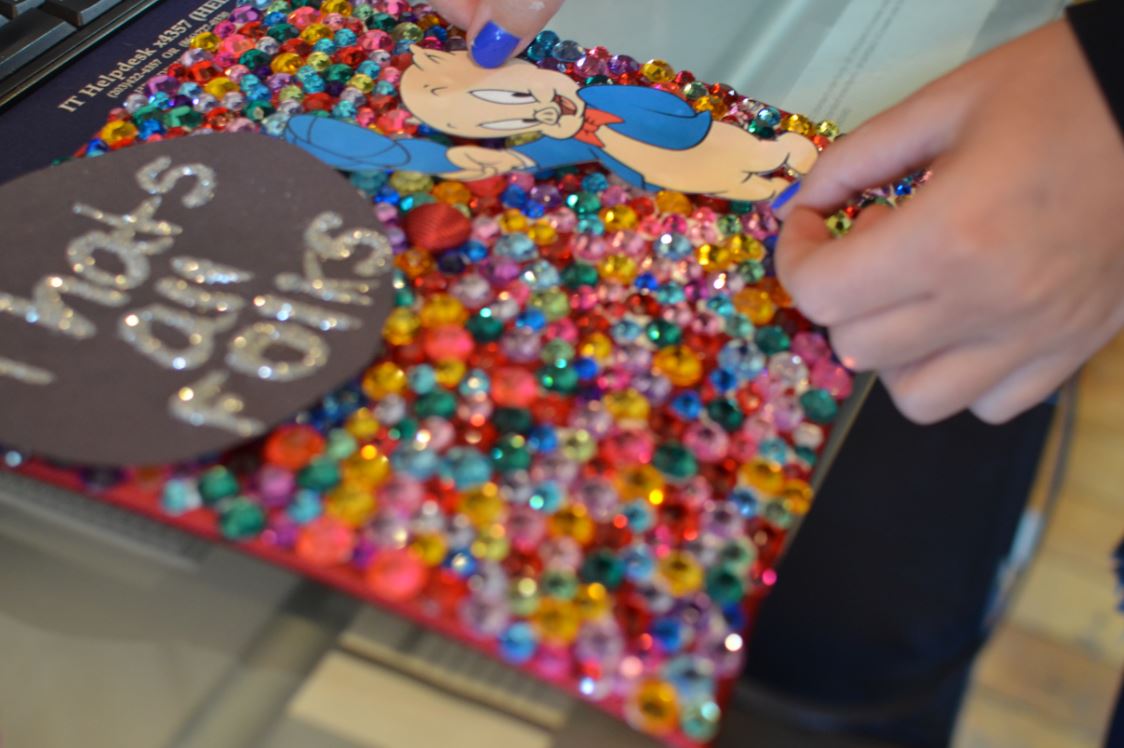
Add your custom cutout
Use a custom printed cutout (your own artwork, a school-safe graphic, or a personal symbol). Add glue dots across the back, especially around edges, then press down firmly.
If the cutout is on the thicker side, apply glue to both the cutout and a few rhinestones beneath it for a stronger bond.
Pro tips to make it look expensive (and stay attached)
Design tips
- Mix stone sizes so it sparkles from far away and up close.
- Keep your sign message short so it reads in photos.
- Test placement before gluing: hold the cap at arm’s length and snap a quick picture.
Durability tips
- Give every layer time to set before stacking new pieces.
- Use glue dots along edges so the cutout doesn’t peel.
- Transport in a box so the sign doesn’t catch on fabric.